Image of Old Gang Smelt Mill & Surrender Bridge by Andy Killingbeck
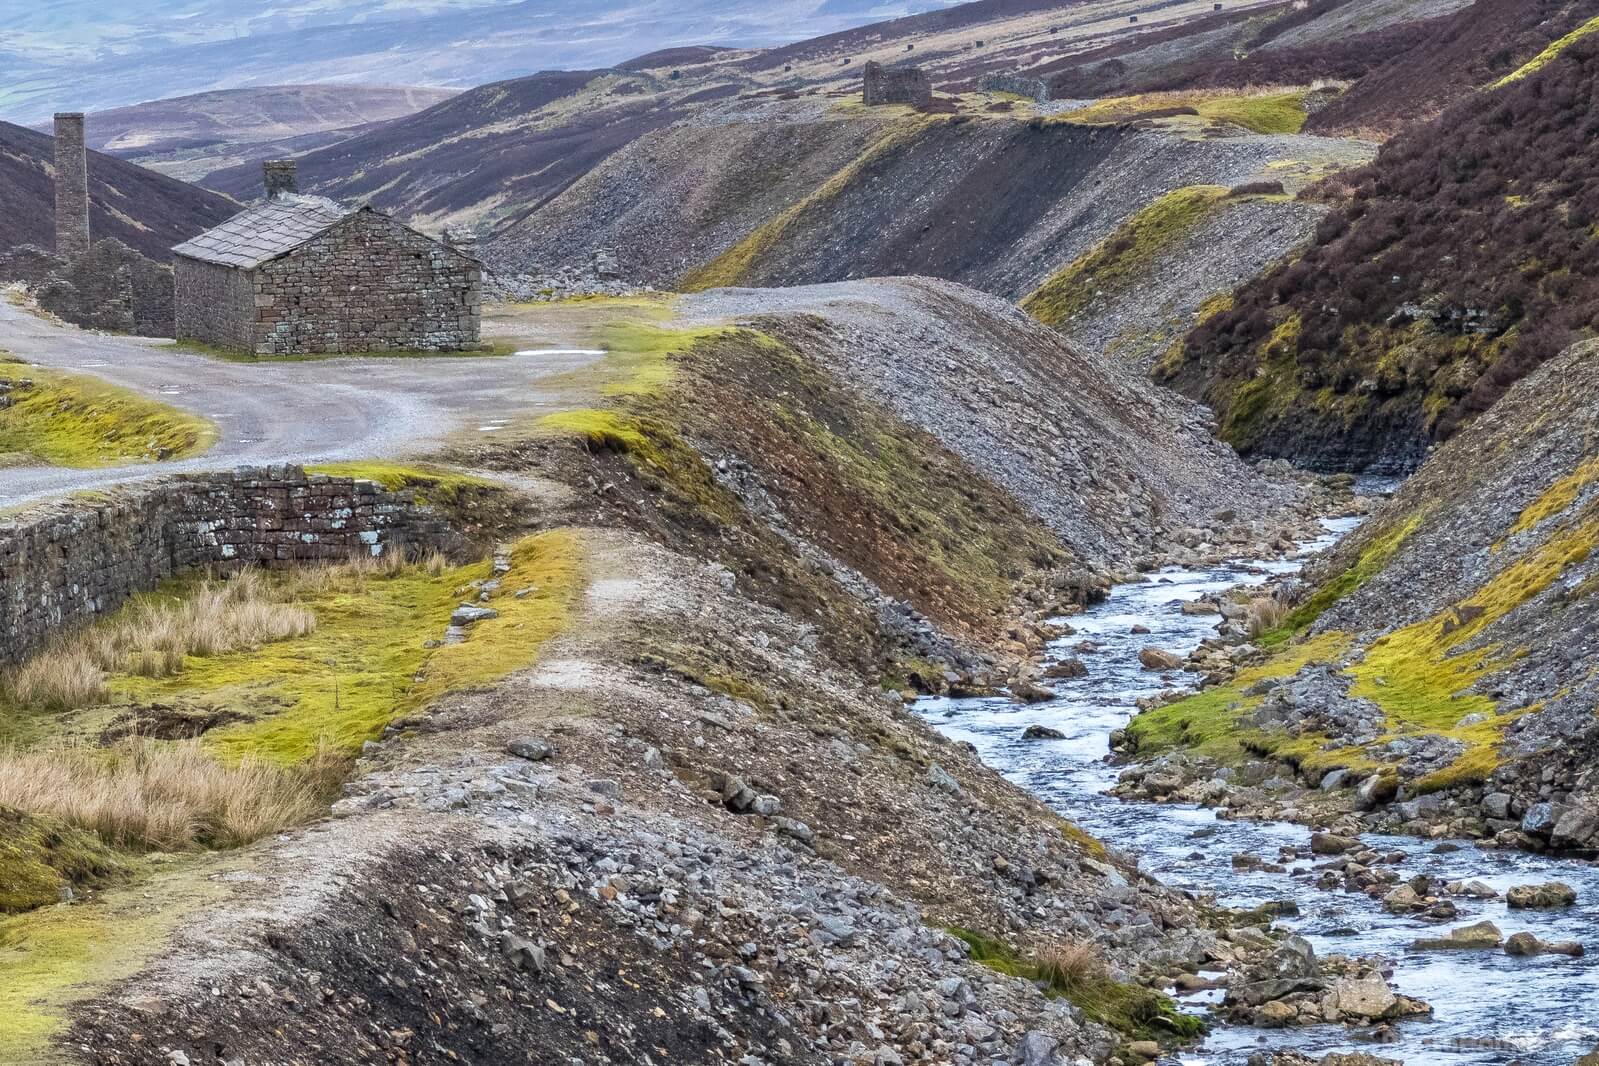
Looking back to the lead mine
Old Gang Smelt Mill & Surrender Bridge
| Date Taken | 2018-04-16 12:41:14 |
| Make | Canon |
| Model | Canon EOS 7D Mark II |
| Lens | TAMRON 16-300mm F/3.5-6.3 Di II VC PZD B016 |
| Focal Length | 66 |
| Exposure | 1/400 |
| F Stop | 8 |
| ISO | 1600 |
| Software | Adobe Photoshop Lightroom 6.14 (Windows) |
| Contributed | 2021-10-12 16:31:28 |
Images of Old Gang Smelt Mill & Surrender Bridge
Here are other images of Old Gang Smelt Mill & Surrender Bridge by PhotoHound's contributors Have you captured an amazing photo here? Click on a photo spot and add yours today!