Top tips for woodland photography by PhotoHound Pro and LPOTY winner, Chris Frost
Knowing where to start with woodland photography can sometimes be overwhelming. Dorset-based photographer and Landscape Photographer of the Year, Chris Frost, shares his advice on how to photograph woodlands and forests.
“Woodlands offer some truly stunning imagery, but are often chaotic and unforgiving, leaving the photographer overwhelmed. Trunks, branches, foliage, undergrowth and plant life mingle and intertwine and mayhem often ensues. This challenge can prove one of the biggest draws of woodland photography whilst also scaring many others off. It requires practice, but overcoming these challenges can deliver some of the most enjoyable and rewarding photographic experiences.
Here’s how to photograph woodlands and forests:
Locations for all seasons

Woodlands can be shot throughout the year, the day and in varying conditions; scenes can become unrecognisable from day to day with varying weather conditions, light and the changing seasons. Forecasts of mists will send woodland photographers giddy with anticipation, but the woods offer versatility in almost any conditions. My advice – get out, explore and experiment whenever you can.
Mist and fogs
Woodlands and mist or fog are a match made in heaven. This will instantly reduce clutter, blurs and soften the background which in turn places emphasis on key foreground subjects. Swirling mists deliver atmosphere in bucketloads turning ordinary scenes into something magical. This is especially true when the sun is high causing sun rays, softly warming lingering mists.
Overcast and Wet
I’m often guilty of being overly reliant on foggy days when other conditions offer just as much opportunity. Overcast and rainy days are some of the best times to visit a forest or woodland; the canopy provides shelter, and overcast conditions can soften and subdue light while flooding the scene with added vibrance. Using a circular polariser in these conditions will literally make the the colours of wet foliage pop from the scene.
Sunny Days
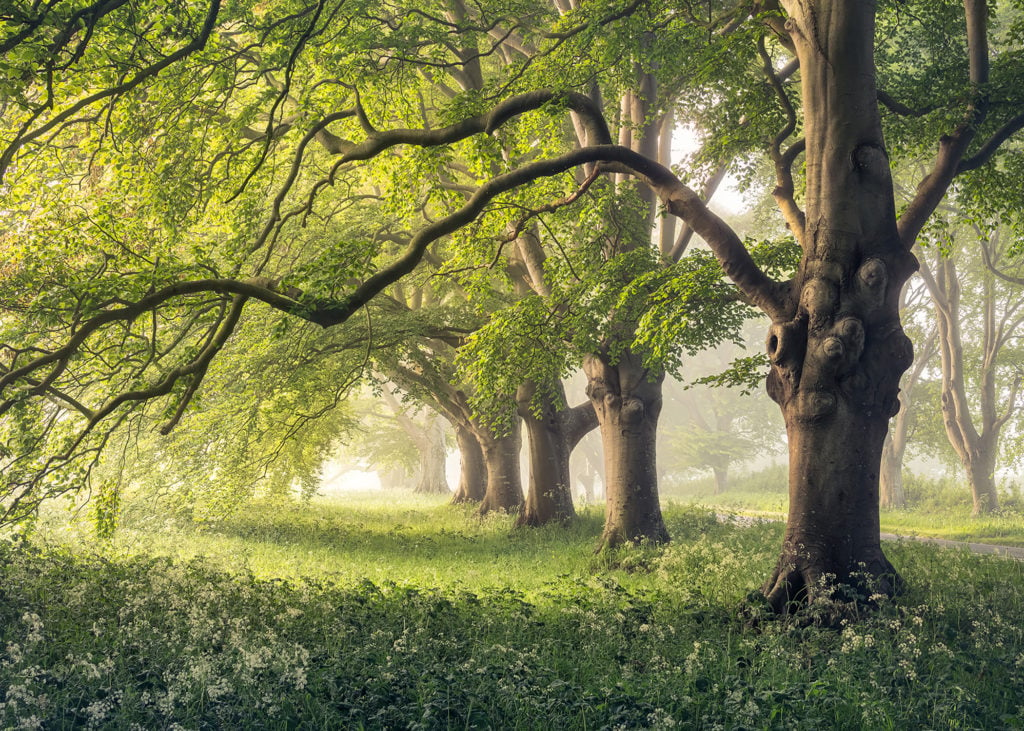
Clear skies and a high sun mean harsh and contrasty light, and this is equally true of woodlands. Spattered light will only add to any disorder and confusion in a scene. However, there are exceptions which make these conditions worthy of venturing out. Try to locate a small clearing, an interesting tree and heavy surrounding foliage. When light enters such a clearing, highlighting the star tree, sunlight can lead to some truly unique and stunning images. Otherwise head out early or late when the sun is low. Capture the light as it softly paints tree edges whilst shadows creep across the forest floor. This will give depth and interest to your shot.
Seasons
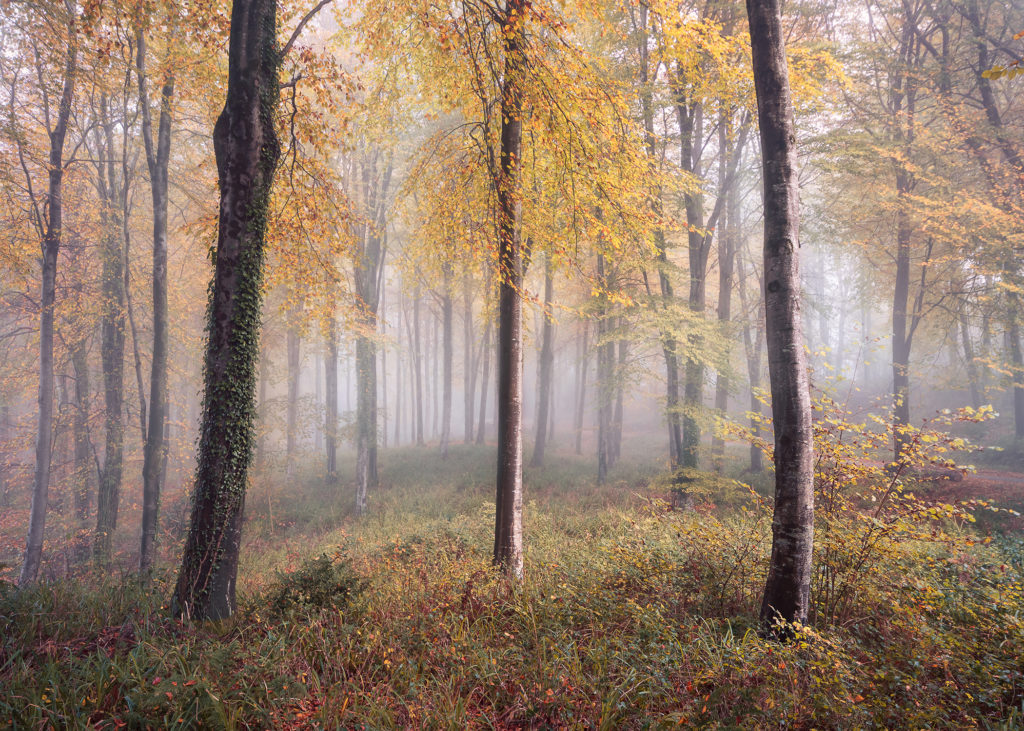
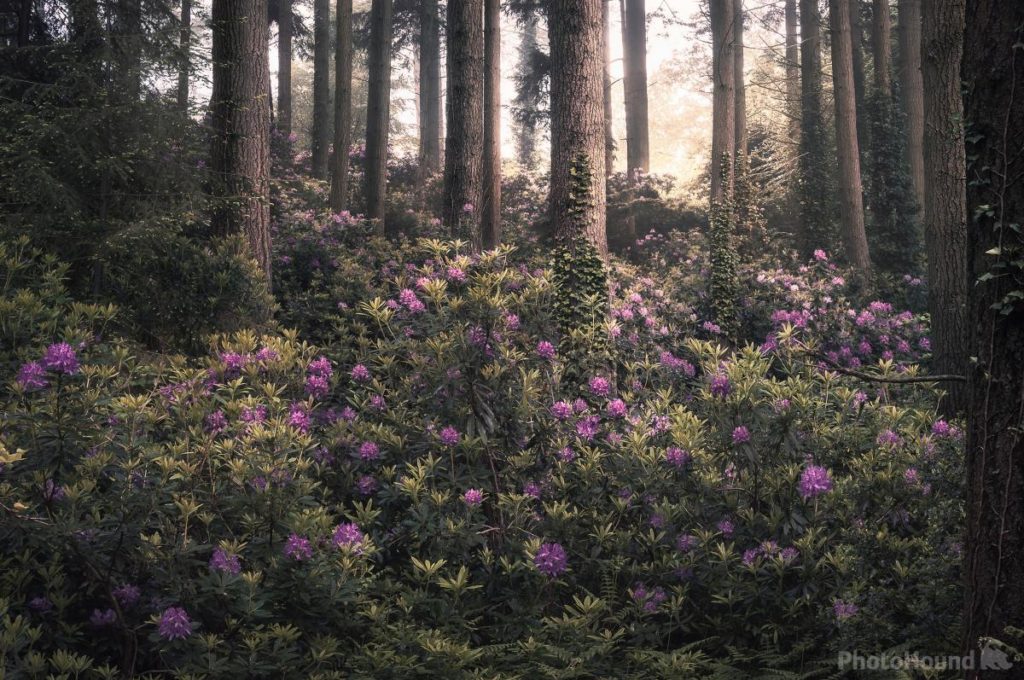
Floral displays in spring and the vivid colours of autumn are the main draw of a woodland. These seasons also bring with them an increased chance of fog and mist. However, I would never discount summer or winter. Heavy green foliage provides a feeling of seclusion, hidden away from the outside world. Winter trees, denuded of foliage, offer a stark beauty and the fleeting possibility of tree trunks half covered by driven snow. Visit favourite local spots throughout the year and in varying conditions; it is this familiarity that will lead to a portfolio brimming with worthy images.
Tools of the trade
Many advocate zoom lenses for woodland photography. They do offer great flexibility and simplify the task of pulling clarity from the woodland chaos. However, other lens types can open up creative opportunities. Think about the merits of each lens and the style you intend to shoot as you pack your bag.
Telephoto Lenses
The versatility of a zoom lens allows compositional flexibility. You can easily crop distracting elements from a scene and the positive effect of compression will bring subjects closer together.
35/50mm Prime Lenses
Venturing into the woods with nothing but a prime lens can be a liberating experience; with less decisions to make you will find your focus will fall on image composition. Prime lenses are inherently sharp and the perspective more akin to what we see with our own eyes. Whilst this may be limiting in spectacular conditions, a prime lens is perfect for scouting. It not only lightens the load but encourages creativity.
Wide Angle Lenses
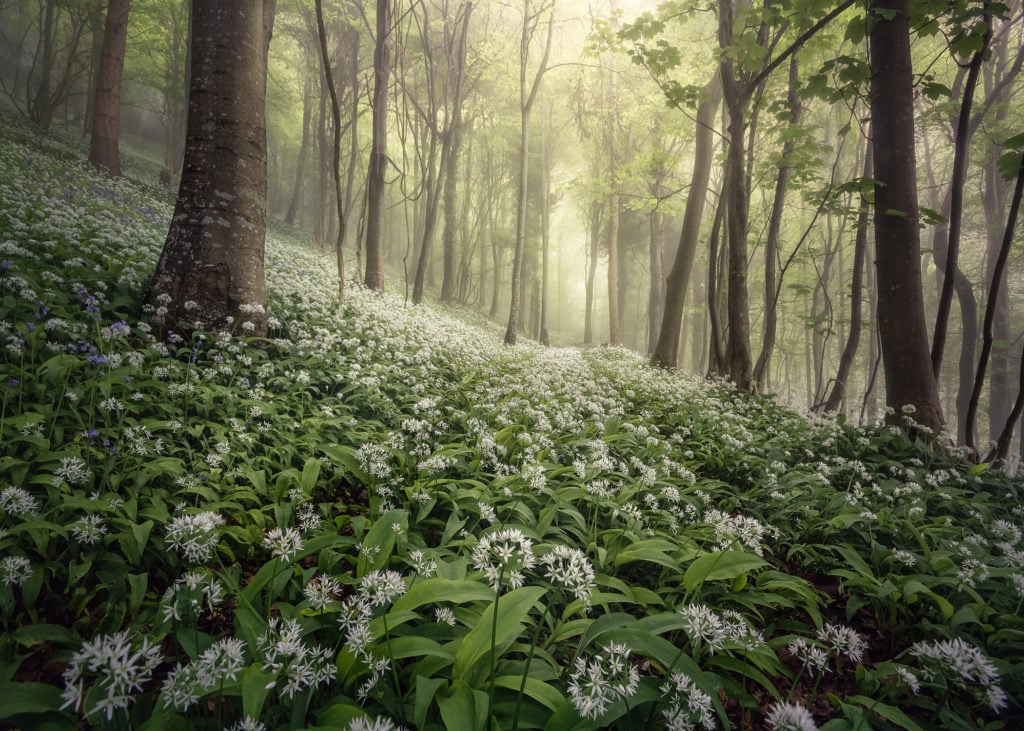
A wide-angle lens may have its limitations, but it can deliver some of the most striking woodland imagery. Shoot low and close to spring flowers to accentuate their heads. Shoot upwards from the base of characterful trees using the lens’ natural distortion to aide composition as the trees stretch upwards to the canopy.
Macro Lens
I don’t own a macro lens, but woodlands are one of the most subject rich landscape locations for macro photography. Moss, ferns, flowers, insects and fungi, to name but a few, offer a ‘miniature’ world of opportunity.
Polariser
Polarisers are a great way to minimise or remove water reflections, but are equally valuable deep in the woods. They can drastically change a woodland scene by removing the natural shine on foliage and saturating their vivid colours. This is especially true of autumnal hues, which can burst with fiery orange and reds. But be careful as the combined effect of polarisation and the dark forest conditions can require extended shutter speeds. Slower shutter speeds work well for seascapes, but even a slight zephyr will result in blurred branches, leaves and ferns. Details that should be sharp can massively detract from the final image when not. Increasing the ISO will allow for adequate shutter speeds to be maintained in most situations.
Tripod
A lack of light means you will need a sturdy tripod to avoid camera shake. Adding spiked feet if you have them can also help with stability in muddy or spongy forest conditions.
Spend time in the woods
For woodland photography, the primary aim is to simplify and make sense of the often-chaotic mess that nature presents you. With practice, compositions will become more readily visible, whether you focus on particular elements or use a wider vista to show specific trees in their surroundings.
Compositional Tips
Aperture
With the exception of sunstars, in woodlands the sweet spot for shooting apertures is between f8-f14. This avoids loss of clarity caused by distraction associated with smaller apertures. Larger apertures can result in backgrounds losing some sharpness, but woodland photography is forgiving in this area. A slight softening as the image moves away from the primary focal points can be pleasing, mimicking the way the human eye sees.
Tell a story
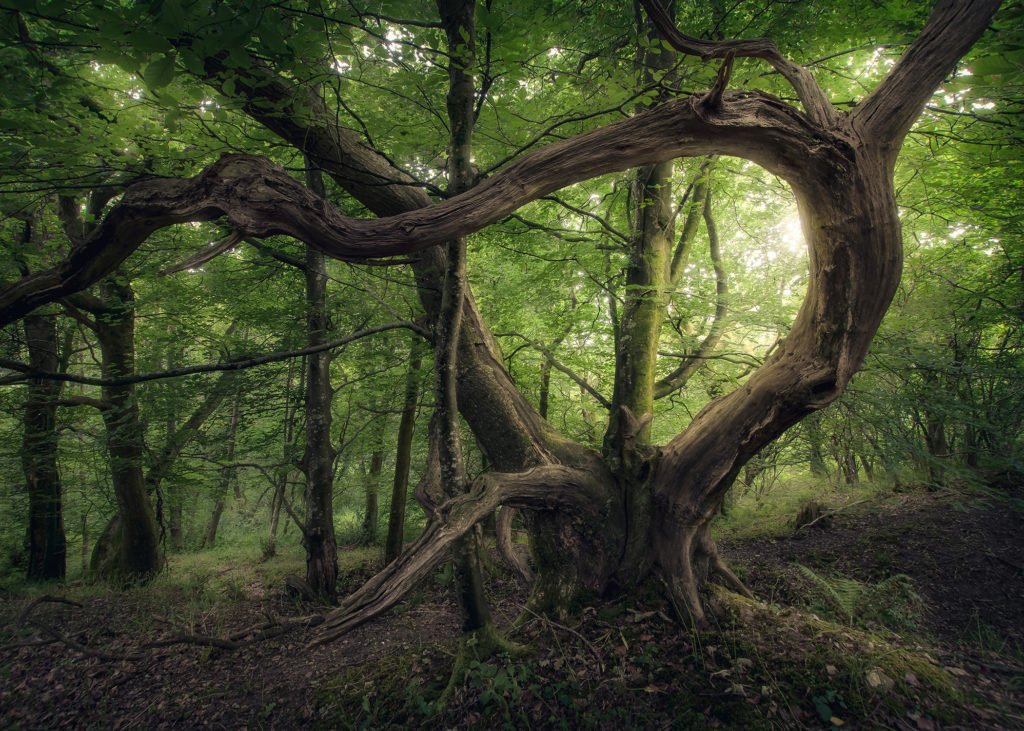
Old woodlands with mature, characterful trees are a great source for images. A lonely old oak contrasted against a strand of young beeches trees gives the picture reference and a story. An old tree of interest can in many cases, carry an image on its own.
Look for leading Lines
Use pathways, tracks and tree tunnels to act as leading lines. Natural or man-made paths lead the viewer through the image. This is hugely effective, especially when meandering through a dense forest scene. Pathways are likely to have more light streaming through than the surrounding areas. This comparative brightness further helps composition as the eye is naturally drawn to lighter, warmer areas of an image.
Search for interactions
Find interactions between particular trees or sets of trees where they bow towards or cower away from their neighbours. Look for trees that twist, intertwine and embrace one another. Anthropomorphisation, the attributing of human characteristics to non-humans, is extremely effective and surprisingly achievable in older woodlands, capturing trees’ relationships with each other.
Light
Look at how the light falls and interacts with certain elements of the scene. Some images may work better, or only work, when the light is in a certain position. The soft highlighting of details will add depth and three-dimensionality, bringing subjects to life.
Light will also cast shadows, and these can be used as effective leading lines, again providing depth.
Depth
Depth is key to woodland photography; without it images can look flat and messy. Having that ‘I feel like I could step into the image’ feeling is only achieved with depth. You can create that perception with leading lines, shadow and light, or a shift from cool to warmer tones. All of these will draw the eye through the image.
Sunstars and Sunrays
Sunstars and sunrays will bring additional impact to an image. You can achieve sunstars by shooting with small apertures between f16-f22. Sunrays can be more allusive and are normally found around an hour after sunrise when the sun has risen high enough to penetrate and burn off overnight moisture. The evaporating moisture creates thin localised mists which can be illuminated with shafts of sunlight.
Little Touches
Look for colours, harmonious and contrasting. Woodlands are home to a wealth of natural colour, and this interplay can add interest and beauty.
Remember the ‘rule of odds’ that highlights images more visually appealing when there is an odd number of subjects; studies have proven people are more comfortable viewing imagery with an odd number of subjects.
Look for areas of cleaner undergrowth. There is nothing more frustrating than getting home to realise winning images on the camera screen, are spoiled by debris littering the woodland floor.
Wherever possible, try to eliminate all or as much of the visible sky as possible. This won’t always be possible but small patches of sky or light peeking through can cause unsightly contrast and distraction. Keep key elements or potential distractions away from the image edges.
Finding the right location
Scouting locations will make the above tips far more achievable. It is particularly valuable for woodland photography where finding cohesion can be an unenviable task. See this as a fantastic way to spend a couple of peaceful hours wandering without the specific goal of creating images. You’ll discover that this can free the mind to see compositions you might otherwise miss. Knowing a woodland location well will give you a head start when the conditions are right. You’re more likely to know where to find the mist and fog meaning you can make the most of those special conditions with pre-visualised compositions.
Having potential compositions in hand can allow you to work effectively with the available light and conditions. Remember patience is key; find a subject, take your time, try different lenses, perspectives and styles and you may be pleasantly surprised by the quality of images produced. One excellent image you’re truly happy with will always trump three so-so images.
Remember you can use the PhotoHound map and guides to search for woodland spots and then explore from there. Some of the shots in this post can be found in my Guide to Photographing Dorset.
Post processing
Post Processing
Processing preferences are always subjective and what works for one may not be to everyone’s taste, so experimentation is key. Woodland imagery is often at its most pleasing when processed in a softer manner. Sparing use of the contrast slider, reserving it for foreground trees and flora, use of a negative value on the Dehaze slider (negative values will soften and add a fog like effect) and the Orton effect in highlight areas can deliver a soft dreamy look.
Colour is key and can add drama to a scene. It may seem that the mix of yellows and greens should be easily handled, but working to harmonise these hues will deliver a more pleasing result in many cases. Be careful with saturation. It’s easy to let the yellows, greens and autumn reds get away from you and give an overly colourful look. Less is often more when post processing woodlands.
Additional finishing touches that can aid in directing the viewer’s gaze, include the addition of a vignette and warping. Warping may only be necessary when using wider lenses, allowing for the correction of any converging verticals, although those can actually assist and add interest in certain circumstances. As woodland is naturally darker, heavier vignettes can be used and still deliver a natural look. This can draw the eye away from areas less aesthetically pleasing and towards the main focal elements of the image.
A Final Note On How To Photograph Woodlands and Forests
Woodland photography can be difficult. There will be times when you’ll come away with nothing, and when conditions do not comply you may feel frustrated. It’s important to remember nevertheless to enjoy the time you spend there; slow down and smell the roses, so to speak. Using these visits for scouting will allow you to make the most of those magical conditions when they do appear.
This is not meant to be a definitive guide, rather suggestions and ideas from my experiences. Woodland photography, probably more so than any other landscape genre, rewards experimentation and originality. Play around and enjoy the freedom to try new things. Not feeling like you have to capture the ‘obvious’ shot provides a great opportunity to create something completely unique.
Shoot with care
Finally, remember to tread lightly wherever you shoot and leave the place a little better than you found it. This is something strongly championed by PhotoHound in their Responsible Photography Principles. Woodlands and forests are usually areas of pristine natural beauty and we want them to stay that way. Watch your step and don’t cause any damage to the woodland floor or wild flowers. Never be tempted to ‘clean’ a scene by breaking branches or moving natural objects. Instead move yourself and find another angle.
I hope you’ve found this post on how to photograph woodlands and forests useful. I’d love to see what you come up with once you’ve read it and ventured out to try for yourself. Tag me @chris_frost_photography. Don’t forget to share your favourites with the PhotoHound community – add your woodland spots and shots to the PhotoHound map!”
To explore woodland spots in Dorset, browse Chris Frost’s Guide to Photographing Dorset on PhotoHound. Or try a more general search using keywords ‘forest’ and ‘woodland’ to find more great spots on the PhotoHound map to try out Chris’ top tips on how to photograph woodlands and forests.
Further resources on woodland photography
Watch Luka Esenko’s guide to Forest Photography in Spring
Read PhotoHound Pro Slawek Staszczuk‘s guide to photographing the woodlands and forests of Sussex
Search for woodland spots on PhotoHound