Step 1 – Find the spot on PhotoHound
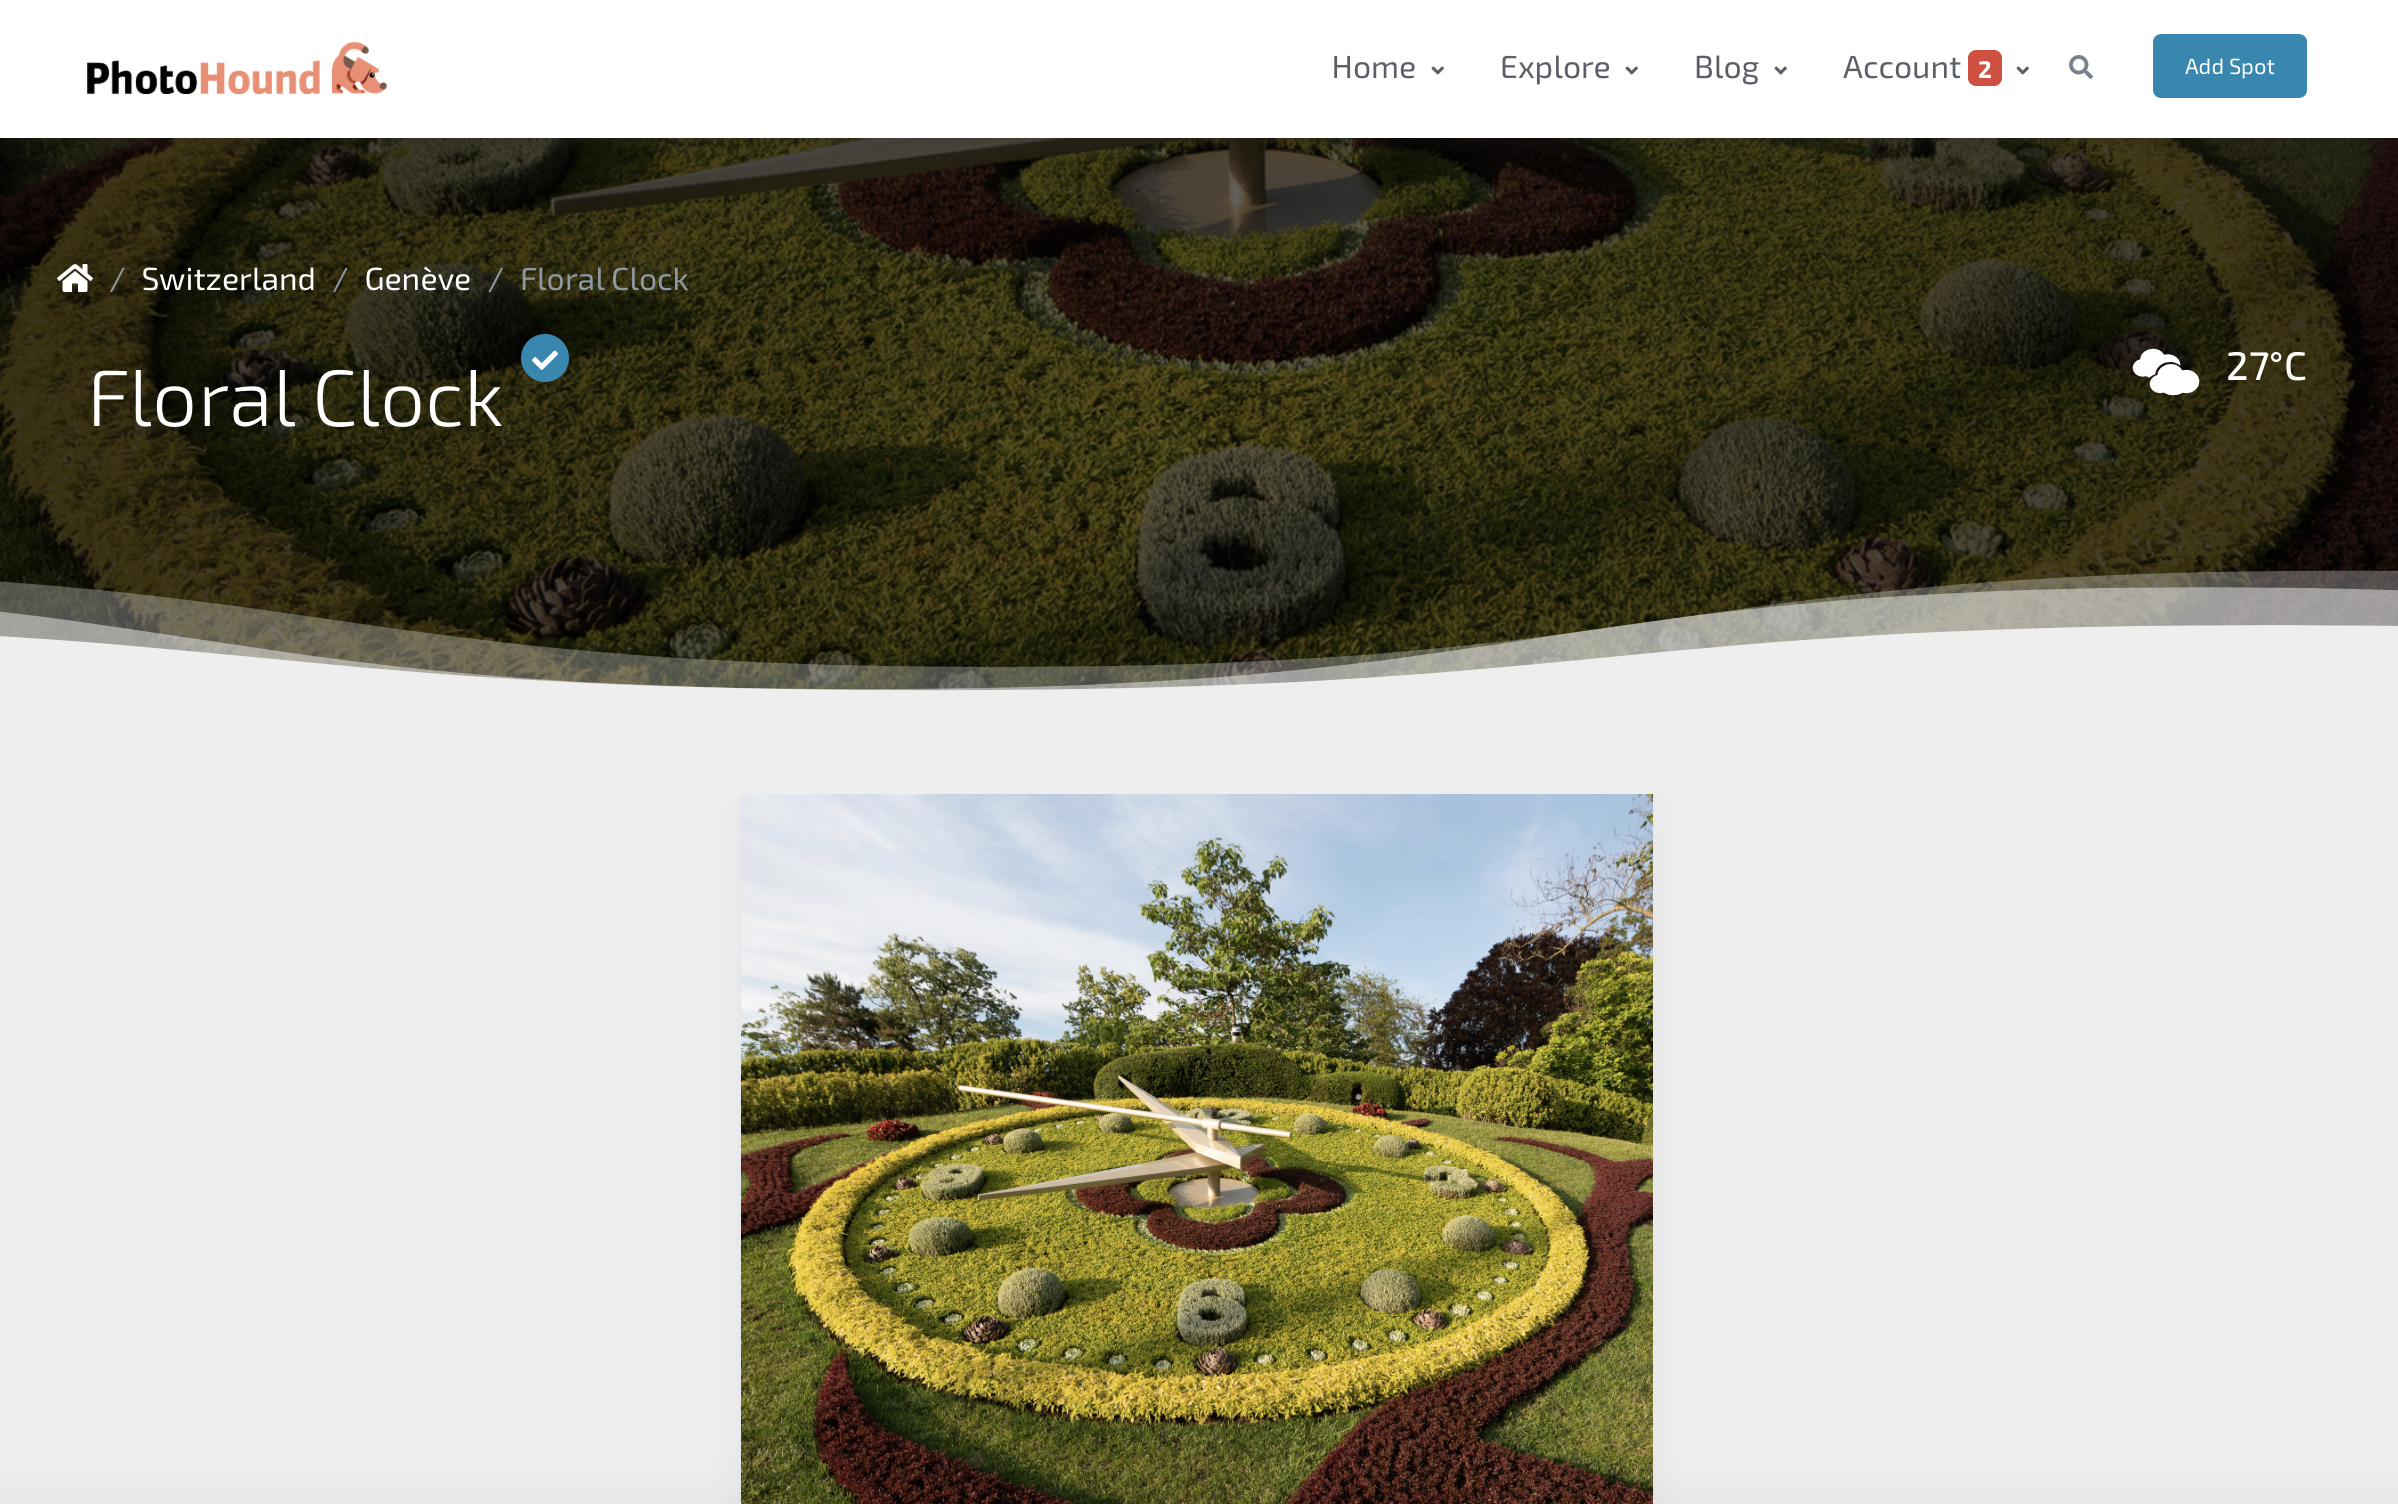
Search the map, look at existing collections, or use the search box to locate the spot you have photographed.
Having trouble finding the spot? If your photographs is of a location that hasn’t been added to PhotoHound, feel free to add it.
Step 2 – Add Your Image(s)

Click on Select an image, or drag your image to the dropzone to begin the upload.
Your photos illustrate what is possible from this photo spot, and are essential to provide information, reference and inspiration. EXIF data is extracted to help people know exactly how to achieve shots like yours.
Our recommendations for images are as follows:
- The more, the merrier! Add as many photos as you like, particularly if these depict the same spot throughout the seasons, different compositions, angles or settings.
- Recommended image size: 1600px long side.
- Use “Save as” with jpeg setting 10 for compression (not “save for web” in Photoshop as this strips off EXIF info)
- Please do not use photos that aren’t possible for regular visitors to take. For example, shots from restricted areas, or where the view is no longer the same – e.g if there is new construction or that famous tree collapsed…
Step 3 – Add more information (optional)
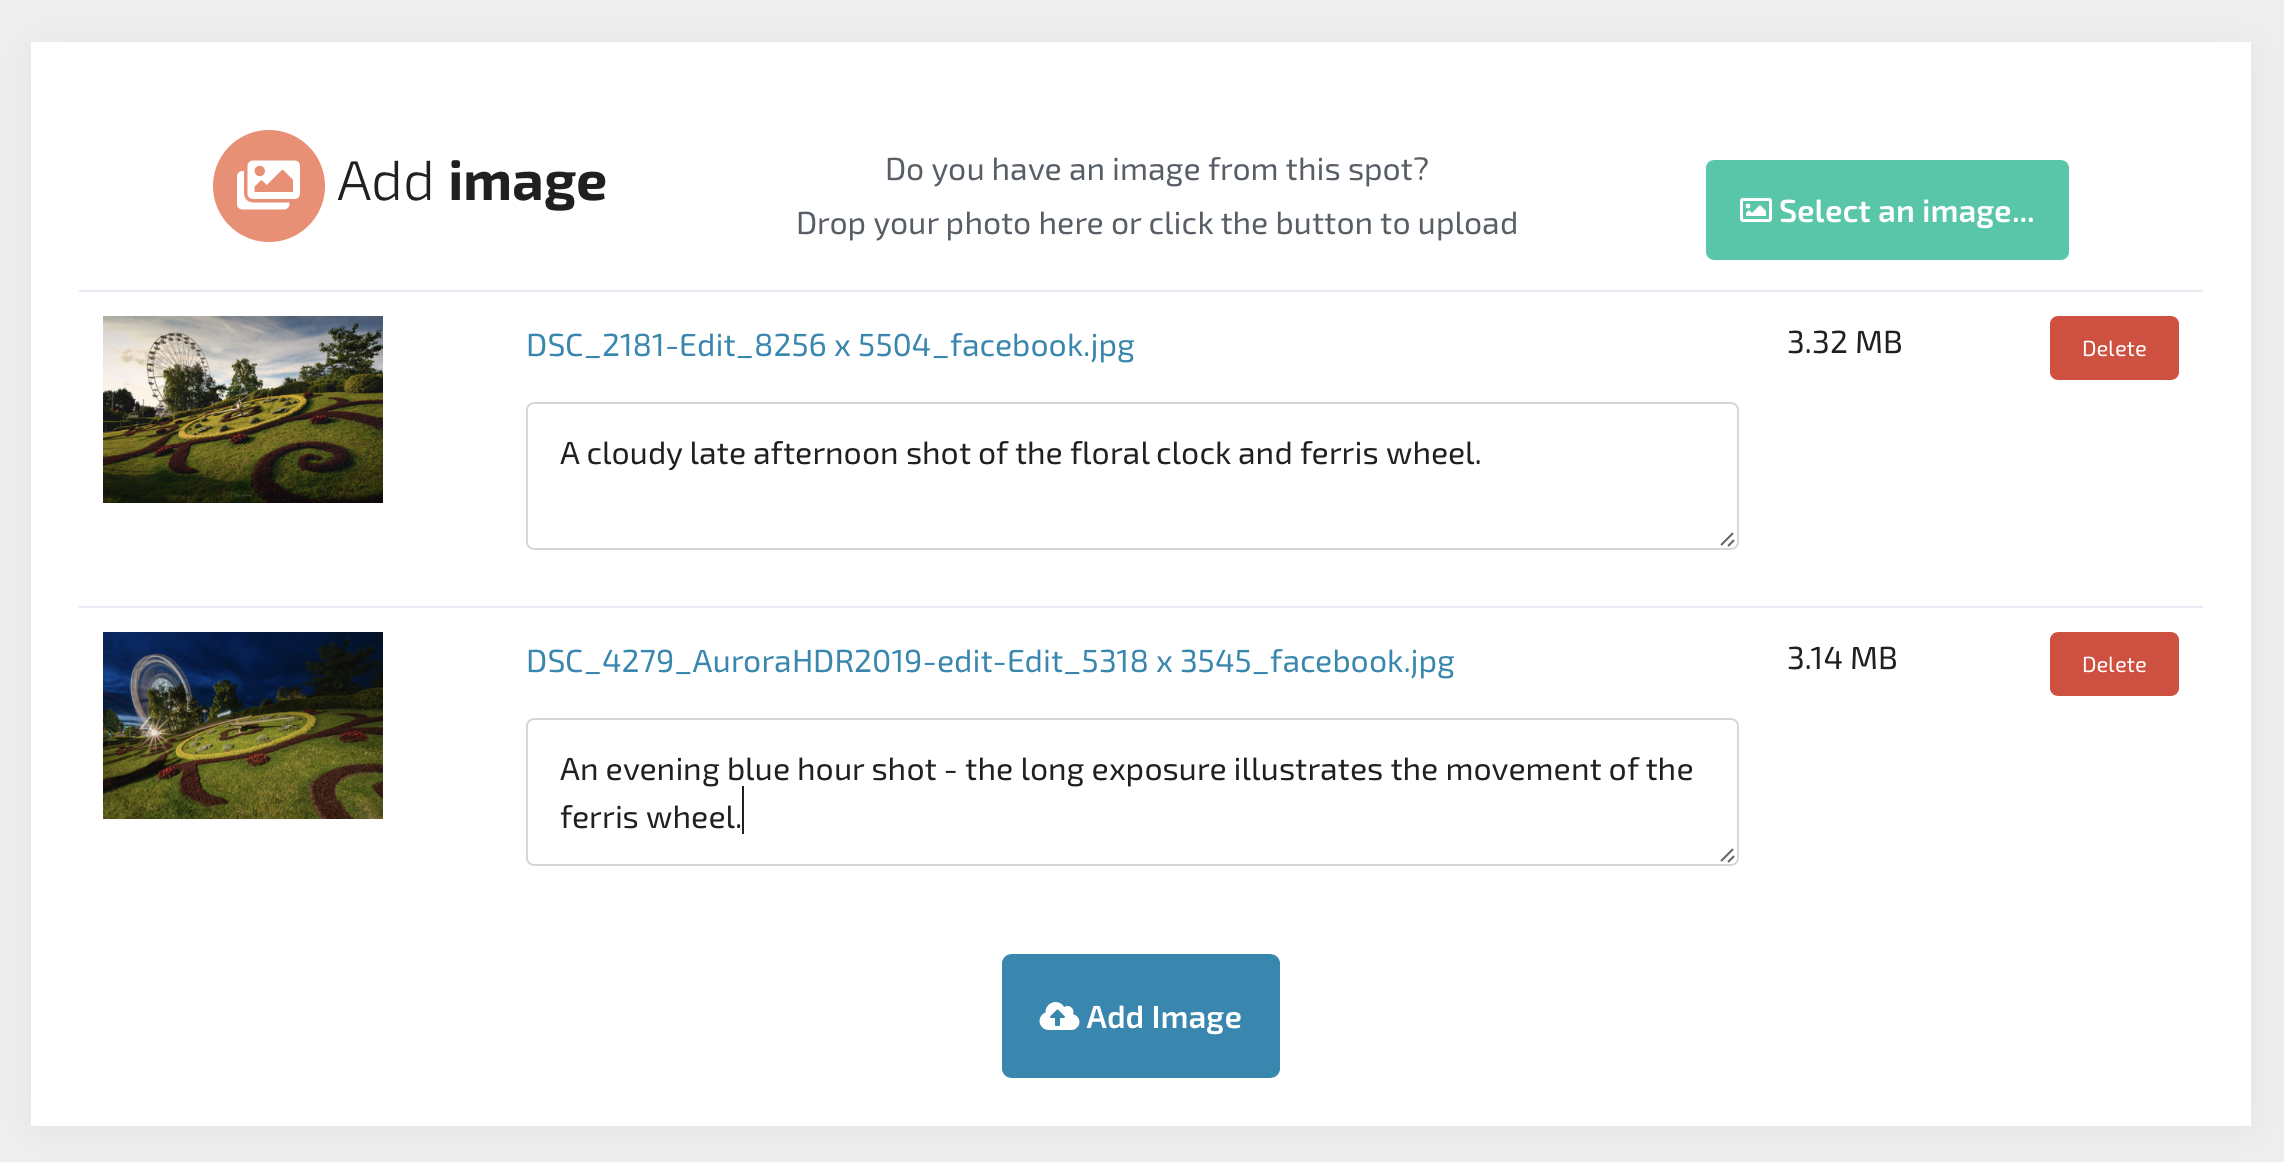
Once your image has finished uploading, you have the option to add a comment about your image. Helpful details include:
- Did you use a polariser?
- Did you use any filters?
- Is this an image of a particular time or event? e.g. Christmas markets at a public square; a landscape lit by moonight
Then, click Add image to complete your upload. Thank you for sharing your images with the PhotoHound community!